
Rafting & River Photography: Capture the Moment Like a Pro
There’s nothing quite like the rush of whitewater rafting—the splash of cold water, the roar of the rapids, and the laughter of your crew as you paddle through the Deschutes. It’s a memory you’ll want to hold onto forever—and with the right gear and a few key tips, you can capture it like a pro. At Deschutes River Adventures, we’ve seen plenty of picture-perfect moments on the river. Whether you’re a photography enthusiast or just want a killer shot for the family album (or your socials), this guide will help you snap unforgettable river memories without soaking your gear—or missing the action.
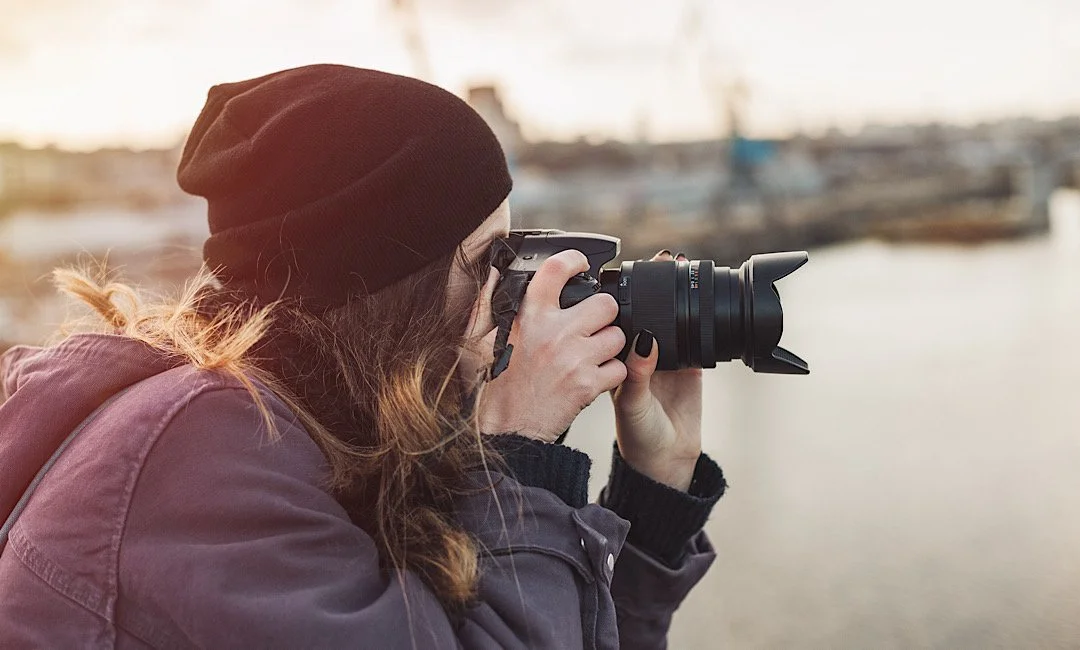
Choosing the Right Gear for River Photography
The biggest challenge with river photography is the environment: water, movement, and exposure to the elements. But that doesn’t mean you need to invest in ultra-expensive equipment to get great results. Whether you’re using a phone, GoPro, or DSLR, there are smart ways to protect your gear while maximizing your shots.
Top gear picks for rafting photography:
Waterproof Action Cameras: GoPros and similar cameras are made for moments like these. Use a chest or helmet mount to keep your hands free.
Waterproof Phone Cases: Brands like LifeProof and Otterbox offer high-quality cases that allow touch use and protect your phone from full submersion.
Floatation Straps: Essential for any handheld device—if it goes overboard, it won’t sink.
Dry Bags and Dry Boxes: For larger cameras or lenses, use dry bags with padded inserts or hard waterproof boxes with shock protection.
If you’re booking with Deschutes River Adventures, ask your guide where the safest stretches are to pull out your gear. They’ll help you find calm water zones perfect for snapping shots without risking a dunk.
Best Photography Tips for On-the-Water Action
Capturing the energy and beauty of a rafting trip requires a mix of preparation, timing, and technique. With these simple tips, you’ll increase your chances of getting that perfect splash shot—or sweeping canyon view—without fumbling.
Photography tips for rafting success:
Use Burst Mode: Whether on a smartphone or GoPro, use burst shooting to capture multiple frames. This is crucial for fast-moving rapids.
Shoot from Low Angles: Getting low in the raft (or from the riverbank if you're not paddling) adds drama and perspective.
Focus on Faces and Movement: Action shots are great, but the expressions of your crew make for emotional, share-worthy photos.
Balance Light and Shadow: Midday sun can wash out colors. Early morning or late afternoon offers better lighting for dynamic shots.
Wipe Your Lens Often: Water spots are inevitable—keep a microfiber cloth in a dry bag for quick lens cleaning between shots.
If you want to shoot video, consider setting your camera to a high frame rate (60fps or more) so you can create smooth slow-motion edits later. And don’t forget sound—external mics don’t fare well on the river, but post-editing apps can add music or voiceover for a polished feel.
Where to Position Yourself for the Best Shots
Not all seats in the raft are created equal when it comes to photography. If you’re shooting during your trip, talk to your guide ahead of time and ask for placement that works for you.
Ideal photography spots include:
Front of the raft: For those brave enough, you’ll get the best unobstructed views—just be ready for splash zones!
Back seat: Offers wide-angle shots of the crew and landscape while staying a bit drier.
Shoreline or bridges: If someone in your group isn’t rafting, they can capture the action from above or the banks of the river.
Many rafters also use a combination of stills and video. Consider clipping a GoPro to the back of your helmet and using your phone for the calm stretches where you can shoot by hand.
Safety First: Protecting Your Gear and Yourself
While getting great river photos is exciting, safety should always come first. Rafting is an active, sometimes unpredictable sport, and keeping your focus on paddling and teamwork is key. Always listen to your guide’s advice about when it’s safe to shoot and when to stow your gear.
Key safety reminders for photographers:
Never bring unprotected gear: Even calm water zones can surprise you. If it’s not waterproof, keep it stored during rapids.
Stay clipped in: Cameras and phones should be tethered to you or your raft at all times.
Don’t prioritize photos over paddling: If you’re an active paddler, focus on shooting only during calm sections—or let your guide know you’d like to ride as a non-paddler in a photo-friendly seat.
Our team at Deschutes River Adventures takes pride in both safety and guest experience. Let your guide know in advance that you're hoping to take photos—they’ll offer suggestions and maybe even snap a few candid shots of your crew when you least expect it.
Make the Moment Last Beyond the River
After the trip, take time to sort through your shots, create a highlight reel, or even print a few favorites. These images are more than just souvenirs—they’re reminders of a shared adventure, moments of courage, teamwork, and pure joy. Whether it’s your first rafting trip or one of many, having those memories captured beautifully adds lasting value.
And if you prefer to be fully in the moment? That’s great too. We often partner with professional river photographers stationed at major rapids who capture your group in action from the shoreline. These high-resolution images are available for purchase after your trip, so you get the shot without having to lift a finger—or a lens.
Book your rafting trip today with Deschutes River Adventures. Call 1-800-723-8464 to schedule your river run and create picture-perfect memories that last long after the rapids.